


This article may include affiliate links. We may earn a small commission if you shop through them.
Making your own nut butter is so much simpler than you think, plus you know exactly what’s in it. I know I was shocked at how little it needed, and how absolutely better it tastes than anything from a single-serve packet or even from a machine they have in those fancy natural food groceries. But les spricey!
At Señora Era HQ, we’ve been doing this for a while now — and once you try it, you won’t go back. The beauty is that all you need is 1 ingredient (not even salt!): your favorite nut. Keep a big jar of nuts in your pantry, and whenever you need almond or cashew butter for your protein smoothies, you’ll have everything you need to make your own batch.
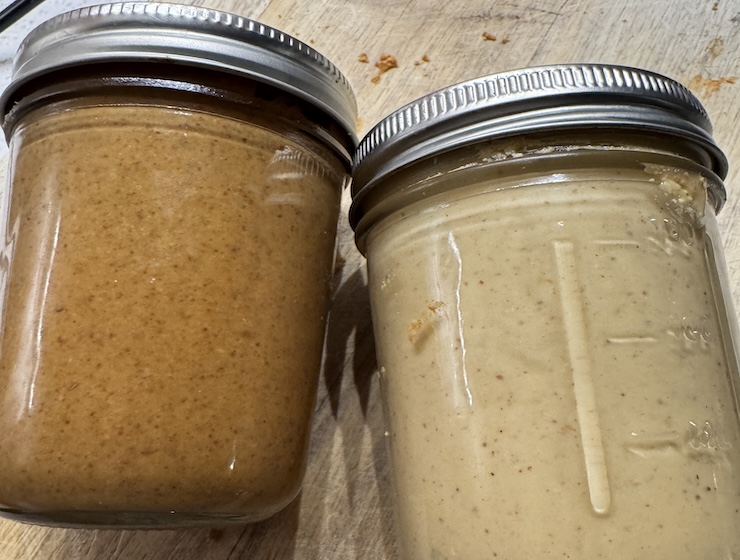
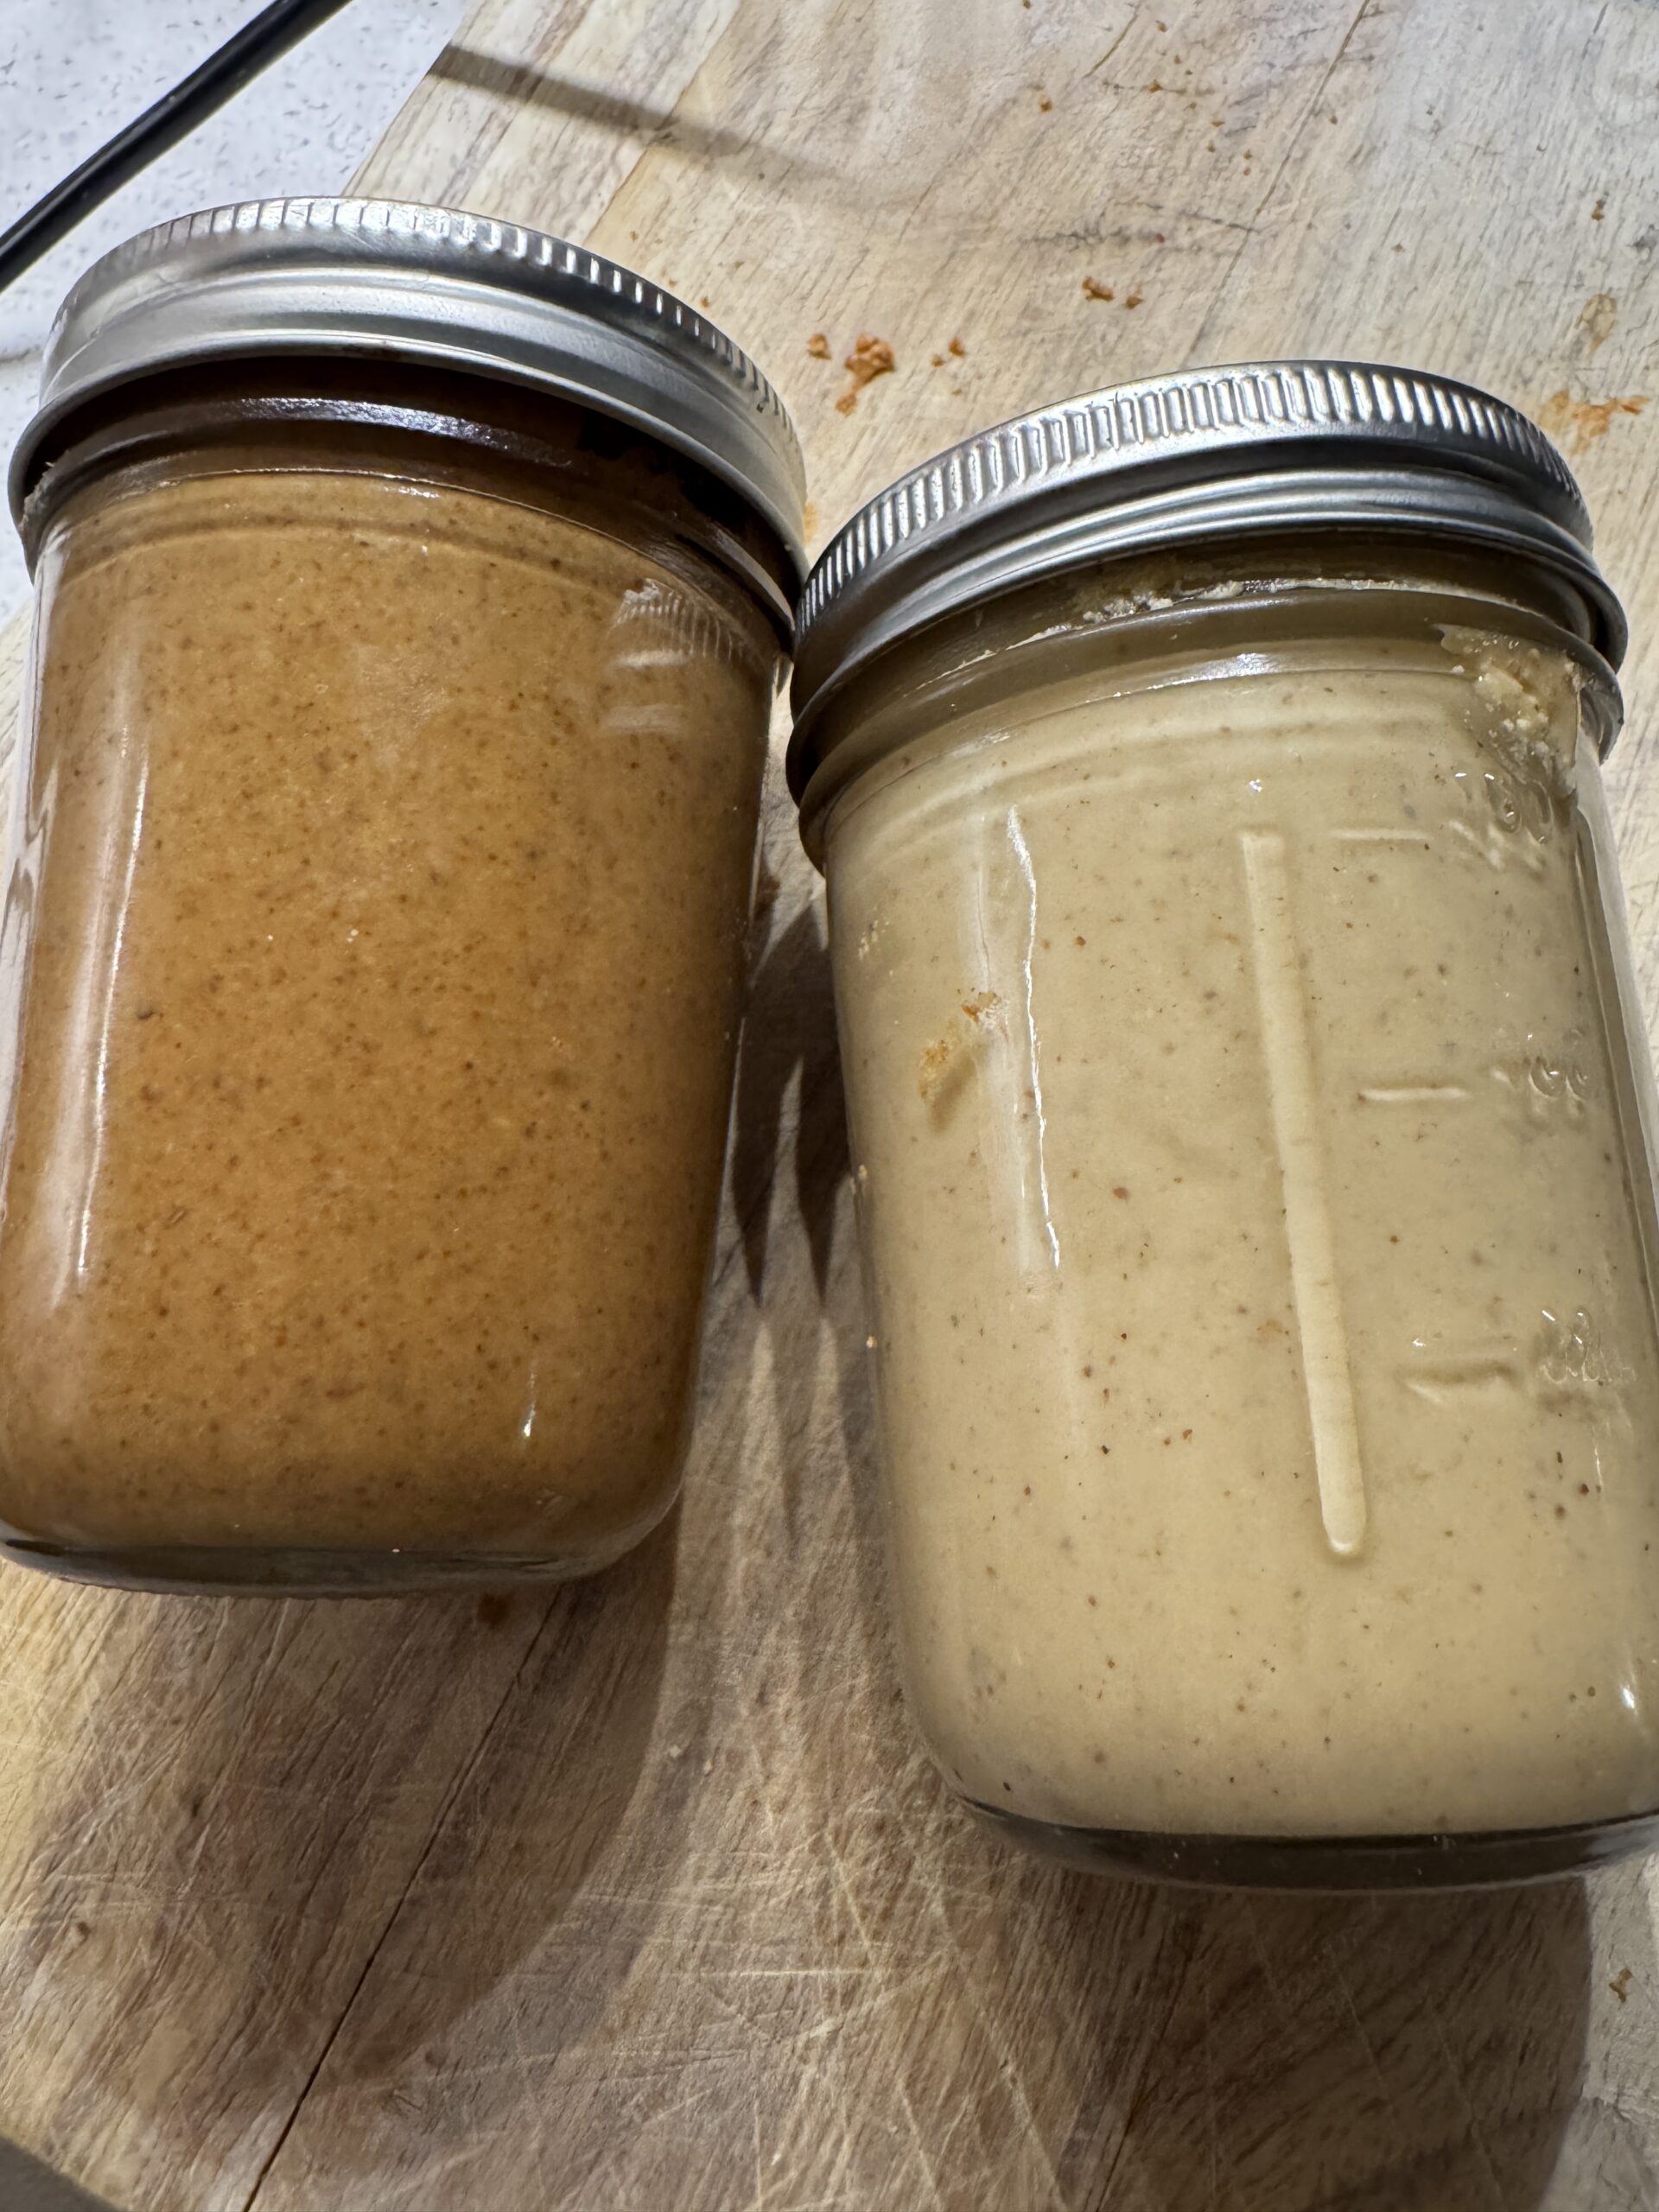
Here’s how to make three of our favorites: peanut butter, almond butter, and cashew butter.
The Golden Rules (for All Three)
Before we get into each one, here’s what they all have in common:
- Toast your nuts first. This is the step most people skip, and it makes all the difference. Toasting brings out the natural oils and deepens the flavor.
- Be patient with the food processor. It will look crumbly, then clumpy, then like it’s not working and then like it’s breaking your machine, but keep going. The creamy magic happens at the end.
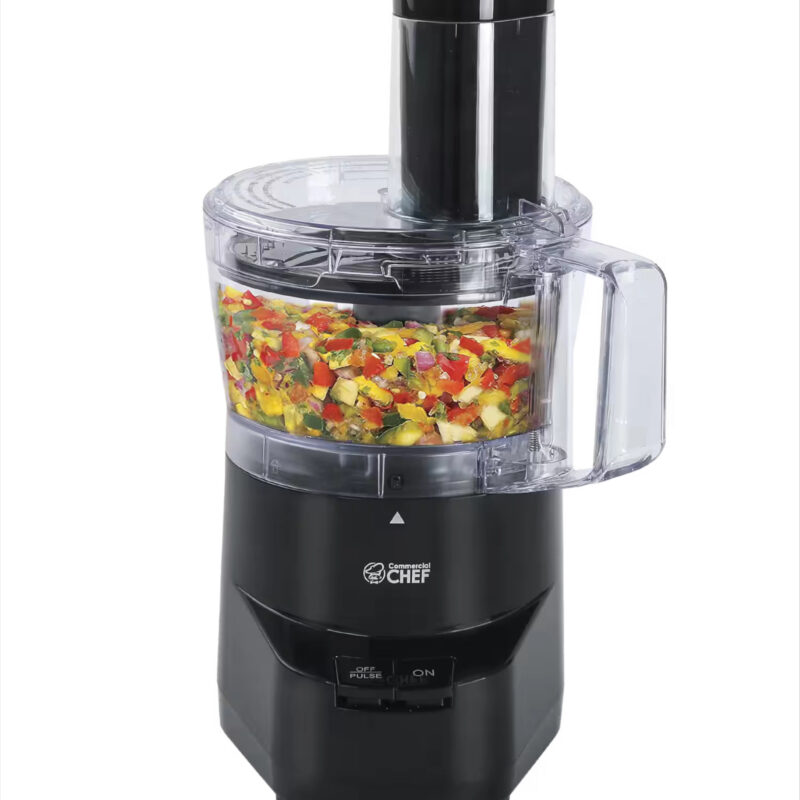
- Do not use a blender: I even tried the Vitamix, but all it did was break my pricey blender motor. ONLY use a food processor. And you’re in luck because these are much cheaper than fancy blenders.
Peanut Butter
What you need: 2 cups raw or dry-roasted peanuts, pinch of salt, optional: 1 tsp honey or a drizzle of neutral oil
- Preheat your oven to 350°F. Spread peanuts on a baking sheet in a single layer and roast for 8–10 minutes, until golden and fragrant. Let them cool for a few minutes.
- Add peanuts to your food processor and blend. It’ll go from chunky to a thick paste — just keep blending, scraping down the sides as needed.
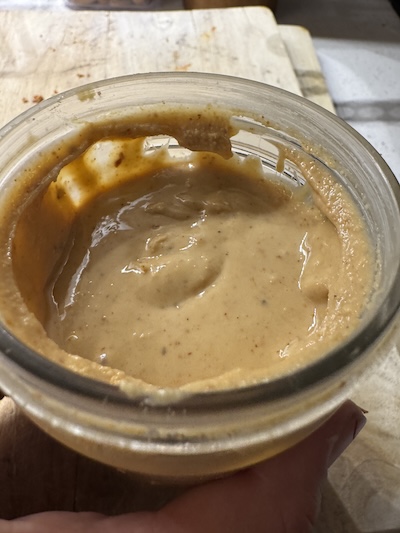
- After 3–5 minutes, it’ll turn smooth and creamy. Add salt to taste, and a little honey if you like it slightly sweet.
- Store in a jar at room temperature for up to 2 weeks, or refrigerate for longer.
Almond Butter
What you need: 2 cups raw almonds, pinch of salt, optional: 1 tsp cinnamon or vanilla extract
- Preheat oven to 350°F. Spread almonds on a baking sheet and roast for 10–12 minutes, stirring halfway through. Let them cool slightly — but blend them while still a little warm, it helps.
- Add to your food processor and blend. Almonds take a bit longer than peanuts — be patient, this one needs 8–12 minutes of blending total.
- Scrape down the sides often. It will look like dry almond flour for a while before it suddenly turns into butter — trust the process.
- Add salt, and cinnamon or vanilla if you’d like a little something extra.
- Store in the fridge for up to 3 weeks.
Cashew Butter
What you need: 2 cups raw cashews, pinch of salt, optional: 1 tsp honey
- Preheat oven to 325°F. Cashews are more delicate, so they toast at a slightly lower temp — roast for 8–10 minutes until lightly golden. Watch them closely, they can burn fast.
- Let them cool completely before blending — cashews blend better at room temp.
- Add to your food processor and blend. Cashews are the creamiest of the three and come together the fastest, usually in 4–6 minutes.
- Add salt and a touch of honey if you like. The result is naturally sweet, buttery, and incredibly smooth.
- Store in the fridge for up to 2 weeks.
A Few Tips We Love
- No need to add oil — if you toast the nuts well and blend long enough, they’ll release plenty of their own natural oils. It’s an amazing process!
- Make it chunky by pulsing in a small handful of roughly chopped nuts at the very end. I like it creamy so I let it go for a bit.
- Glass jars are the best storage option — they keep the flavor fresh and look beautiful in the fridge.
That’s it. Three nut butters, one food processor, one oven, and zero mystery ingredients. Your morning toast will never be the same.
Want to see how we make ours at Señora Era HQ? Stay tuned.
-
 Shop the Item
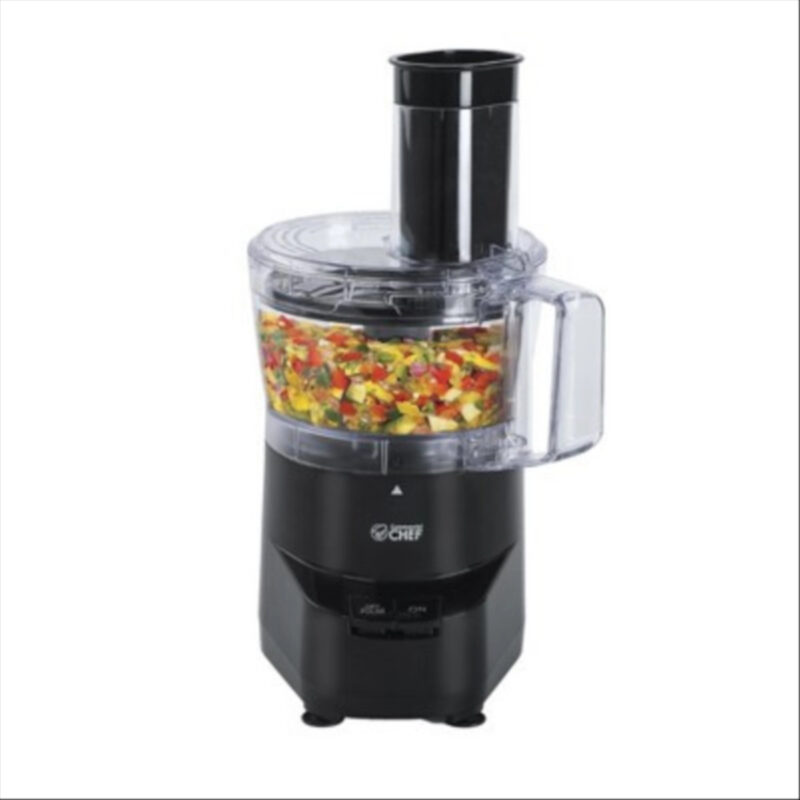
Commercial Chef – 4-cup Food Processor – Black
-
 Shop the Item
COMMERCIAL CHEF 4-Cup Food Processor 450W with 2 Speeds, Black
-
 Shop the Item
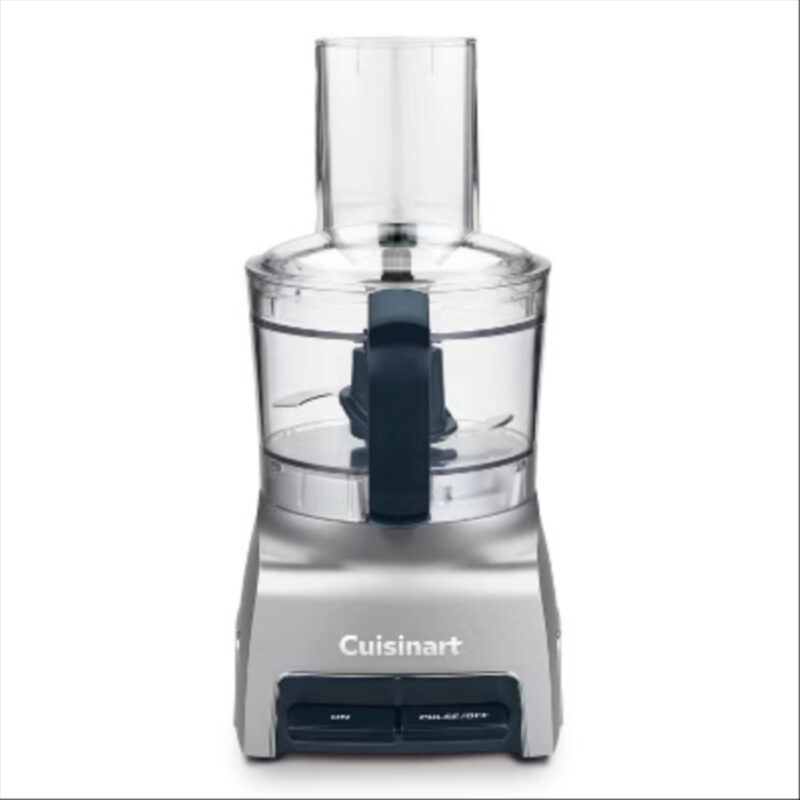
Cuisinart Chop & Shred 5 Cup Food Processor FP-5
-
 Shop the Item
Cuisinart Food Processor, 14-Cup Vegetable Food Chopper for Mincing, Dicing, Shredding, Puree & Kneading Dough, 720-Watt Motor, Stainless Steel, DFP-14BCNY
-
 Shop the Item
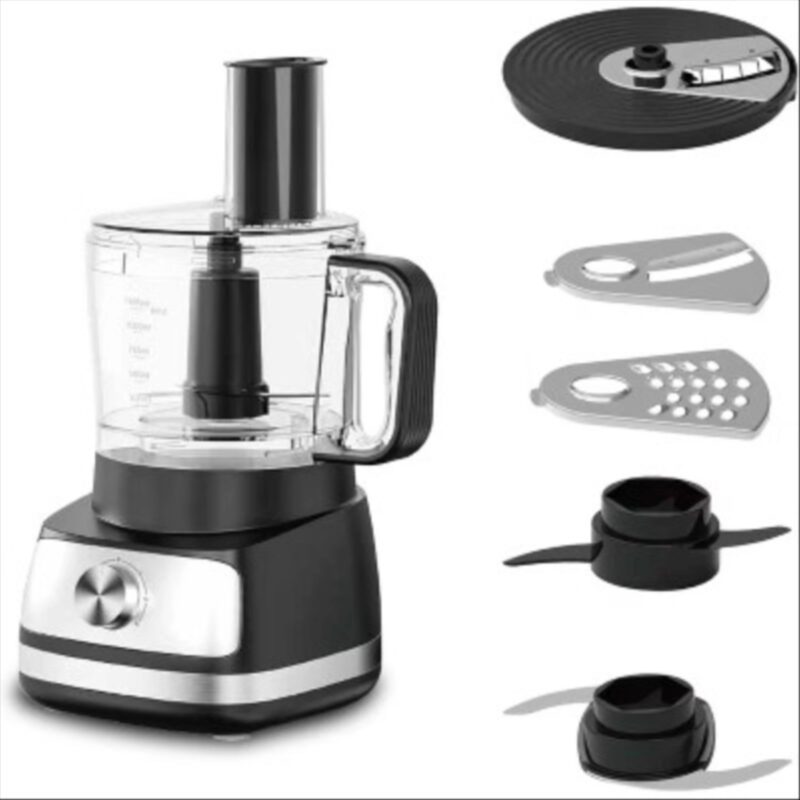
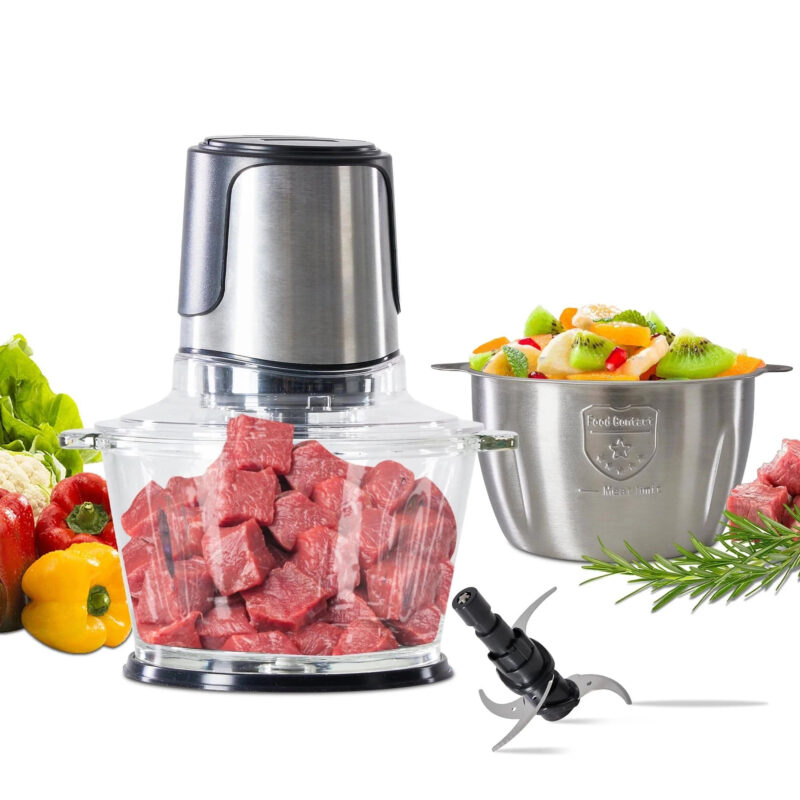
EMB IronBlade series 5-in-1 Food Processor, 1.5L Bowl, 4-Speed Control, Multi-Functional for Slicing, Shredding, Chopping, Kneading
-
 Shop the Item
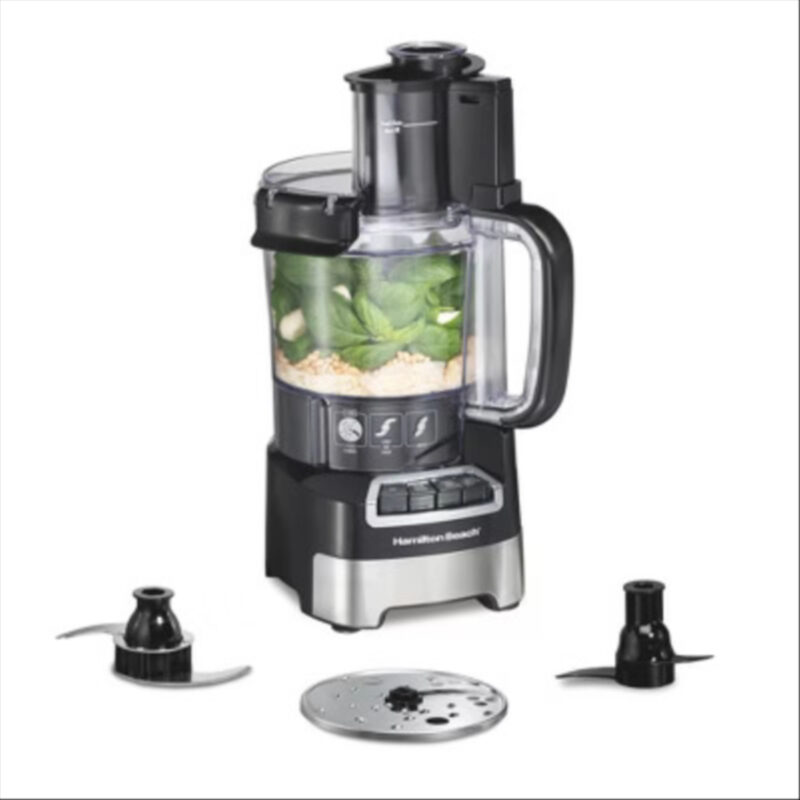
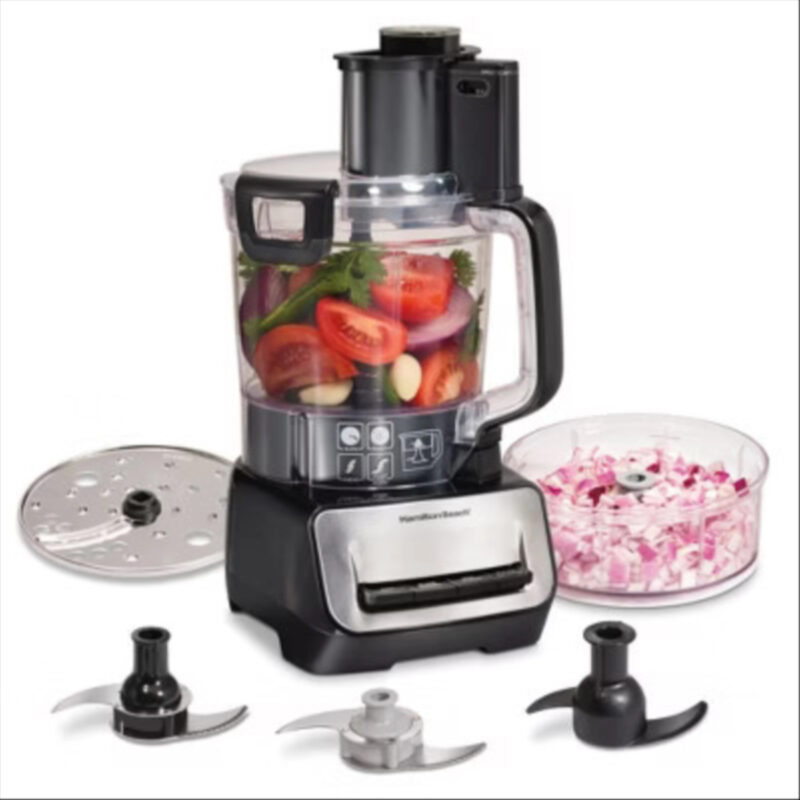
Hamilton Beach 12 Cup Stack and Snap Food Processor
-
 Shop the Item
Hamilton Breach Pro Dual Bowl Food Process 70585: 500W Full-Size Processor, 3 Speeds, Large Feed Tube, Dishwasher-Safe
-
 Shop the Item
KitchenAid Food Processor Attachment
-
 Shop the Item
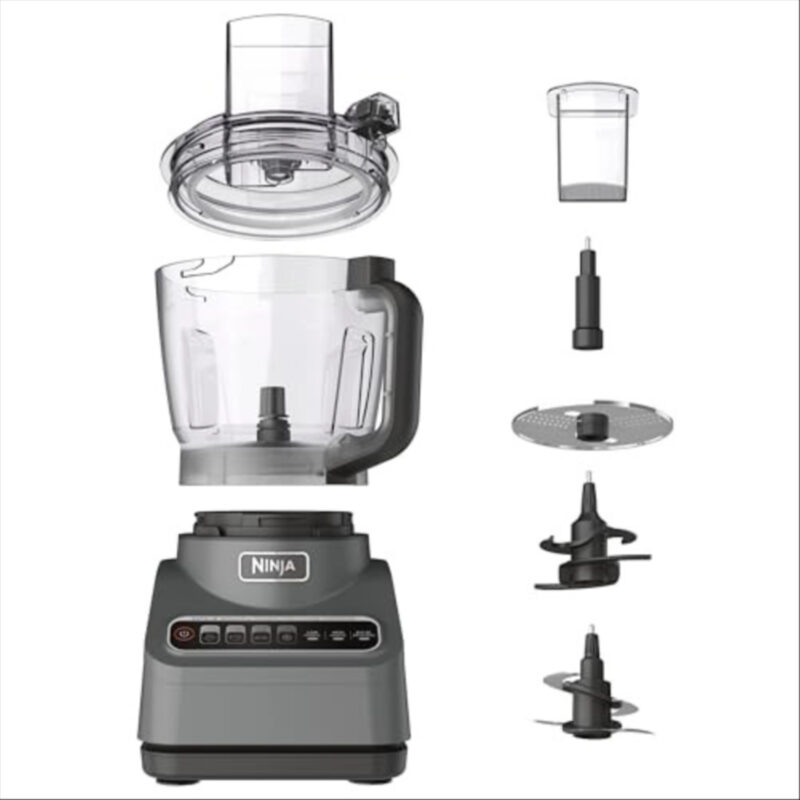
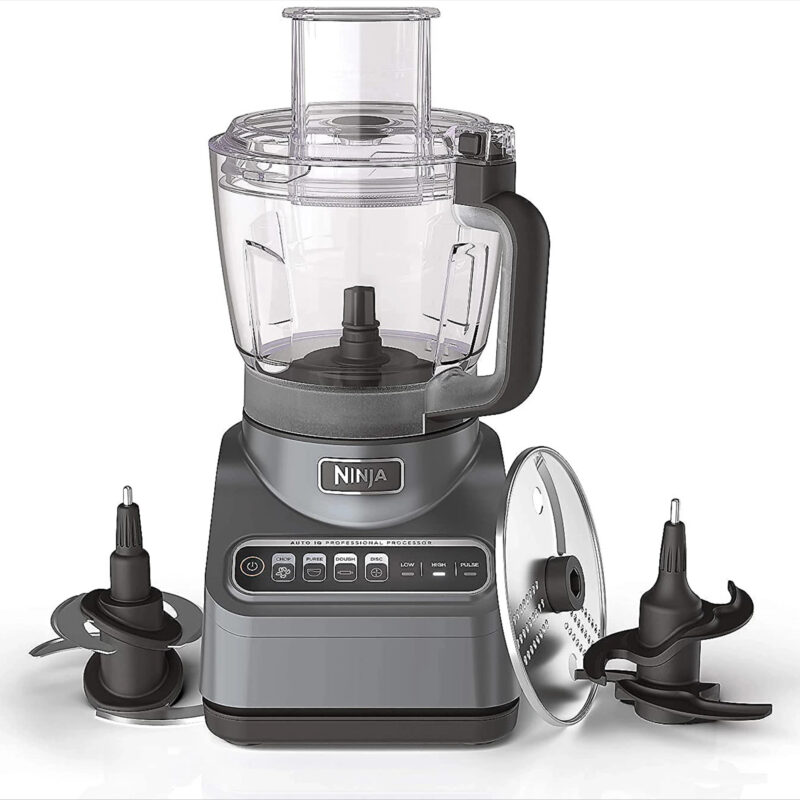
Ninja Food Processor, Professional Plus, 1000 Peak Watts, 4 Functions for Chopping, Slicing, Purees & Dough with 9-Cup Processor Bowl, 3 Blades, Food Chute & Pusher, Silver, BN601
-
 Shop the Item
Ninja Professional Plus Food Processor
-
 Shop the Item
Sweet – Food Processor for Chopping, Slicing, Purees & Dough with Blender & Dough Tool,Sharp Blades, Safety Lock – Black
You Might Also Enjoy
- The Coziest Gift You Can Make at Home: Rosemary Body Butter
- 12 Completely Free Ways to Make Your Home Feel Better Instantly
- 15 Small Home Changes That Make a Big Difference (All Under $50)
- Want to Dabble in Herbalism? Here’s What You Need (Free & Paid)
- Señora Era Wellness Q&A: A Doctor on Stress, Long COVID, & the Path Back to Yourself