


Growing your own corn is like having pure sunshine in your garden and planting your own food is actually one of the 13 señora habits that will help you improve your life. Corn is delicious, the stalks cool in your garden beds (and give you a little bit of a privacy wall!), and it’s just majorly awesome to be able to walk out to your garden to grab some lunch for you and your toddler.
To get those juicy, golden kernels, there’s a little secret that might surprise you: you need to sex that corn! it won’t happen easily by itself. In fact, you may get some lopsided, weird looking corn.
Why Do You Need to Hand Pollinate Corn?
Corn is wind-pollinated, meaning it relies on the breeze to carry pollen from the tassels (the male part of the plant) to the silks (the female part) of each ear of corn. However, in a small garden, the wind might not always do its job effectively, leading to spotty or underdeveloped ears. If your corn plants are too close together, too far apart, or if you have minimal wind, the pollen might not reach where it needs to go. Hand pollination makes sure that your corn gets the best chance of developing fully, and not with any quirk.
When to Hand Pollinate Your Corn
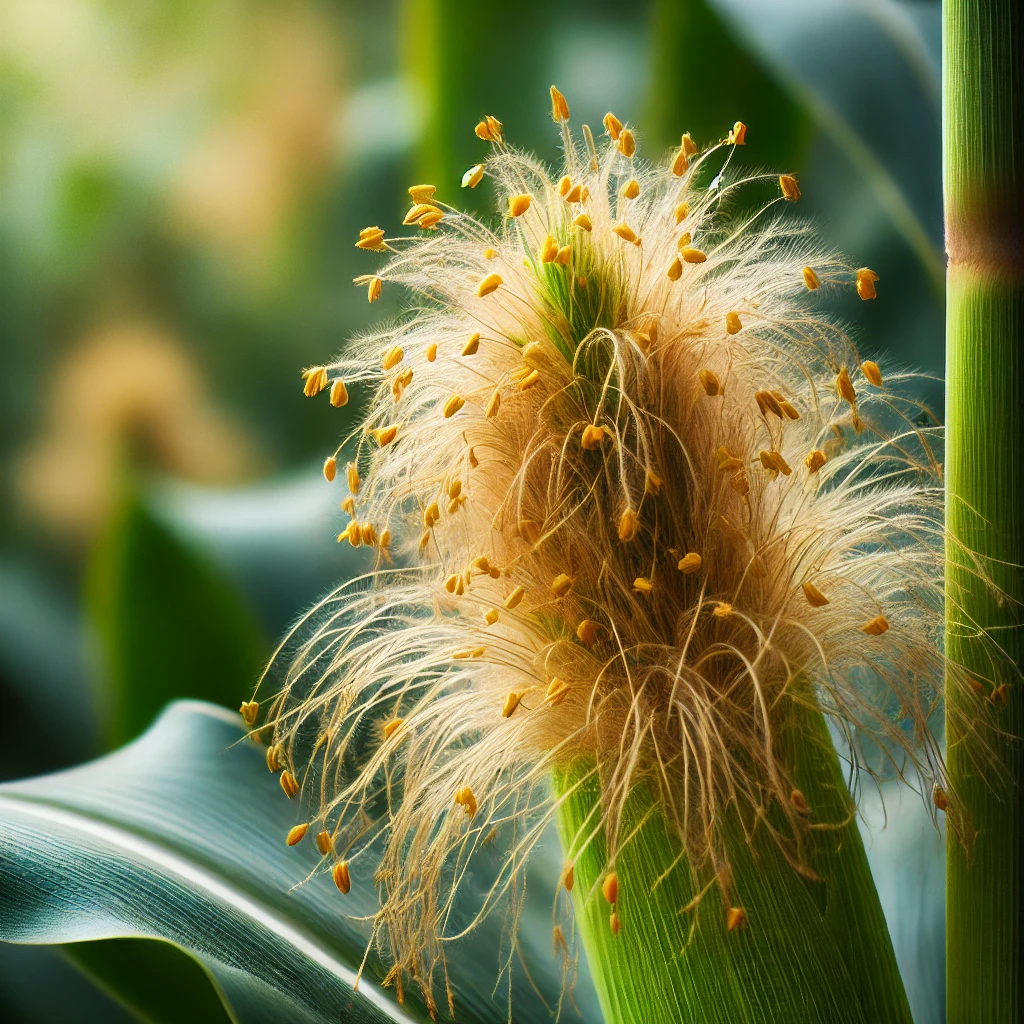
Timing is key when it comes to pollination. Corn usually tassels and silks appear at the same time, which is your cue to get started. The tassels, which are the feathery tops of the corn plant, release pollen for about a week. The silks, emerging from the tops of the corn ears, are receptive to pollen during this time. The best time to hand pollinate is in the morning when the pollen is fresh and dry but not yet disturbed by wind or insects.
Step-by-Step Guide to Hand Pollinating Corn
Hand pollinating corn is a fun, and easy process that anyone can learn to do. Here’s how to do it:
1. Identify the Tassels and Silks
First, locate the tassels and silks on your corn plants. The tassels are the spindly, pollen-covered tops, while the silks are the long, thread-like strands emerging from the top of each corn ear.
2. Collect the Pollen
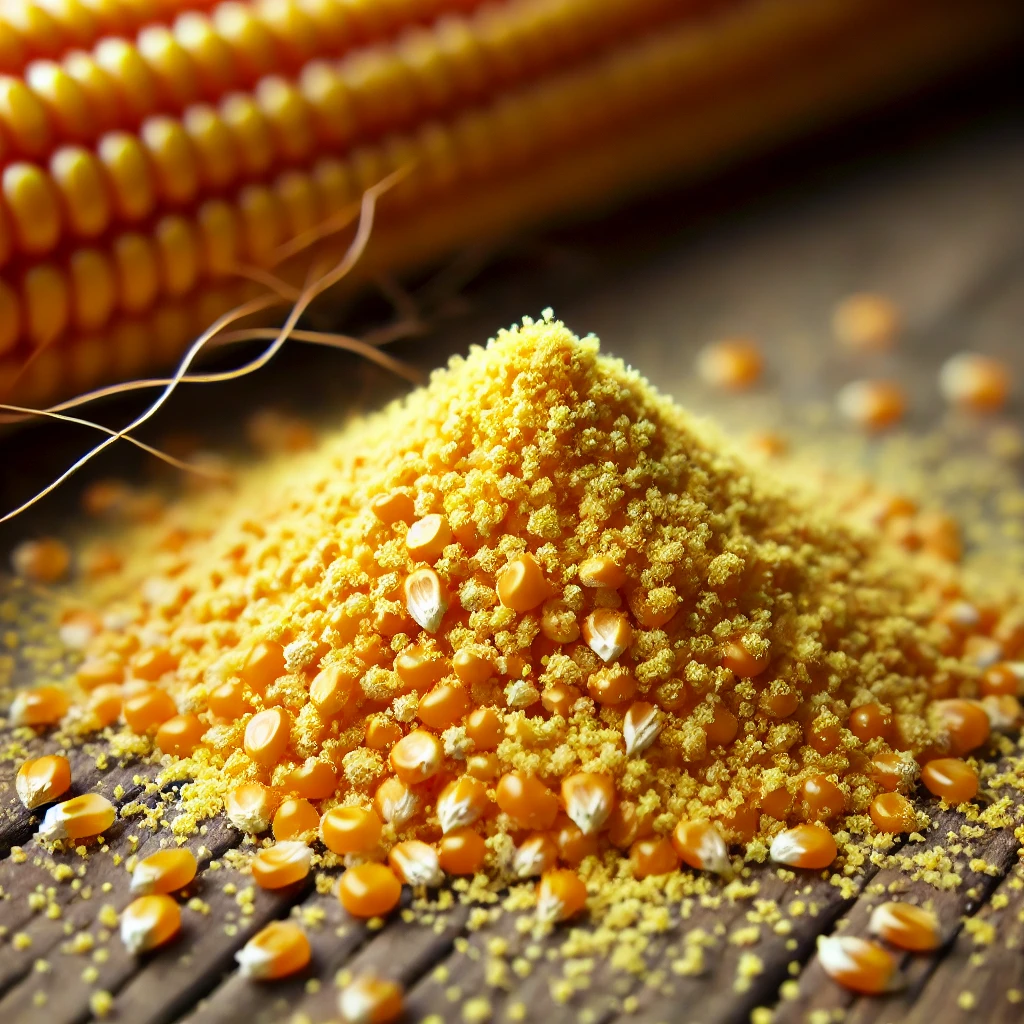
Next, gently shake the tassels over a container, like a small bowl or even a paper bag. The pollen will fall off as a fine, yellow powder. You can also use your fingers to carefully strip the pollen from the tassels.
3. Apply the Pollen to the Silks
Now, take a small, soft brush or simply use your fingers to dust the collected pollen onto the silks. Make sure to cover as many silks as possible, as each silk leads to an individual kernel of corn. The more silks you pollinate, the more kernels you’ll have!
4. Repeat the Process
For best results, repeat this process every day during the week when your corn is tasseling and silking. This will maximize the chances of a full ear of corn developing.
5. Watch and Wait
After pollination, your job is done. Over the next few weeks, your corn ears will start to swell as the kernels develop. Keep an eye on them, and make sure they get plenty of water and sunshine.
Hand pollinating your corn might sound like a chore, but it’s a simple and satisfying way to boost your garden’s yield. Plus, it gives you a deeper connection with your plants, turning you into an active participant in the growth process.
Plus, when you harvest them, make sure to pair them with some of your delicious homemade feta cheese.