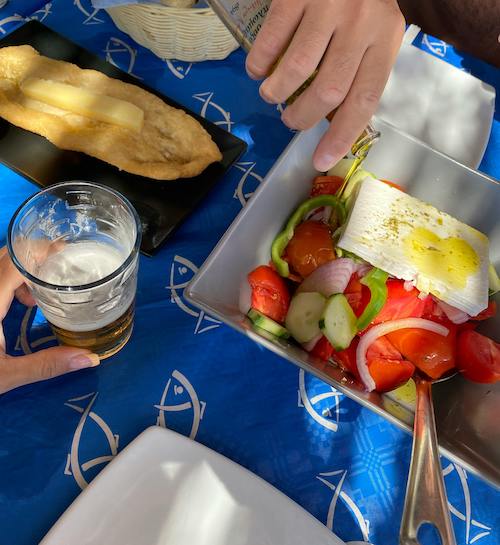
Your abuelas or great grandmothers were no strangers to making their own cheese – and some may have made their own goat cheese (queso de cabra or queso de campo) with leftover milk from the goats they had in the rancho.
A type of goat cheese is Feta cheese, which is loved because of its tangy flavor and crumbly texture. Made traditionally from goat or sheep milk, it’s a versatile ingredient that adds a burst of flavor to many dishes. We love it around here because it feels like a super-food: it’s super nutritious and high in protein and calcium, it’s a probiotic since its a fermented product, and its high in important vitamins and minerals, including vitamin B12, phosphorus, and selenium. It’s great with a simple tortilla, some greens and olive oil for a quick lunch or snack when you’re not particularly hungry – it will keep you full until dinner during busy days.
* if you click on a link to Amazon or other retailer note we may get a small affiliate commission to keep this project alive.

And it’s so easy to make! I’ve been making it for a few weeks now with goat milk from a neighbor, who has goat milk to spare for days. This is because when you have goats, you have to milk them twice each day and so there is no other alternative besides drinking it to giving it away. If you’re thinking about getting goats keep this in mind.
Here’s the simple recipe for raw goat milk feta cheese.
Recipe: Your Great Grand Abuela’s Homemade Feta Cheese from Raw Goat Milk
Ingredients:
- 1 gallon raw goat milk (get it from a neighboring ranchito or señora because you’ll boil it, or just buy cooked goat milk at Sprouts or Trader Joes)
- 1/4 teaspoon feta starter culture
- 1/4 teaspoon liquid rennet diluted in 1/4 cup cool, non-chlorinated water
- Cheesecloth
- Thermometer
- Cheese mold
- Cheese skimmer for stirring (optional)
Instructions:
- Heat the Milk: Pour the raw goat milk into a large pot. Slowly heat it to 86°F (30°C).
- Add the Starter Culture: Sprinkle the mesophilic starter culture over the milk. Let it sit for about 5 minutes to rehydrate, then stir gently with the skimmer
- Add the Rennet: Pour in the diluted rennet. Stir gently for about 30 seconds. Cover the pot and let the milk sit undisturbed for 1-2 hours, or until it forms a firm curd. Although you’re supposed to dilute it, I add a quarter teaspoon of this vegan rennet directly to the pot and it’s worked just fine.
- Cut the Curds: Once the curd is firm, cut it into 1/2-inch cubes. Let the curds rest for 5 minutes. I don’t buy any fancy gadget, I just cut it with a regular knife or a big sourdough cutting knife.
- Drain the Curds: Pour the curds into a cheesecloth-lined colander. Let them drain for several hours or until the whey stops dripping. (note that I do both, first put on colander, then add to cheesecloth)
- Salt and Mold: Break the curds into pieces and mix with cheese salt. Press the salted curds into a cheese mold lined with cheesecloth. Let it drain for 24 hours, flipping occasionally.
- Brine and Age (Optional): Prepare a brine solution (1 cup cheese salt in 4 cups water). Remove the cheese from the mold and place it in the brine. Let it age in the brine for at least 5 days for a mild flavor or longer for a stronger taste. I don’t really brine, I just age for 2-3 days, and then enjoy.
Here are some ideas for including feta in your day or into your family’s meal prepping:
- Salads: Crumble feta over Greek salads for a delicious burst of flavor.
- Sandwiches: Add slices of feta to sandwiches or wraps for a creamy texture.
- Pasta Dishes: Mix feta into pasta for a rich and tangy taste.
- Omelets and Scrambles: Enhance your breakfast by adding crumbled feta to eggs.
- Appetizers: Serve feta with olives and fresh herbs as part of a mezze platter.


