



This article may include affiliate links. We may earn a small commission if you shop through them.
I did something this week that made me feel like the señora final boss: I made my own sweetener. From a plant. In my yard.
If you’ve never grown stevia, it’s an unassuming little herb that looks like it should taste like nothing, and then you bite a leaf and it’s sweeter than candy. The leaves are many times sweeter than sugar, with no calories — which is why the extract industry exists. But you don’t need the industry. You need scissors, a dehydrator, and about a day of patience.
A Closer Look at Make Stevia Powder from Garden Leaves
The Señora Edit
Discover the home, beauty, fashion, and wellness finds our readers are loving most this week.
Shop This Week’s Bestsellers →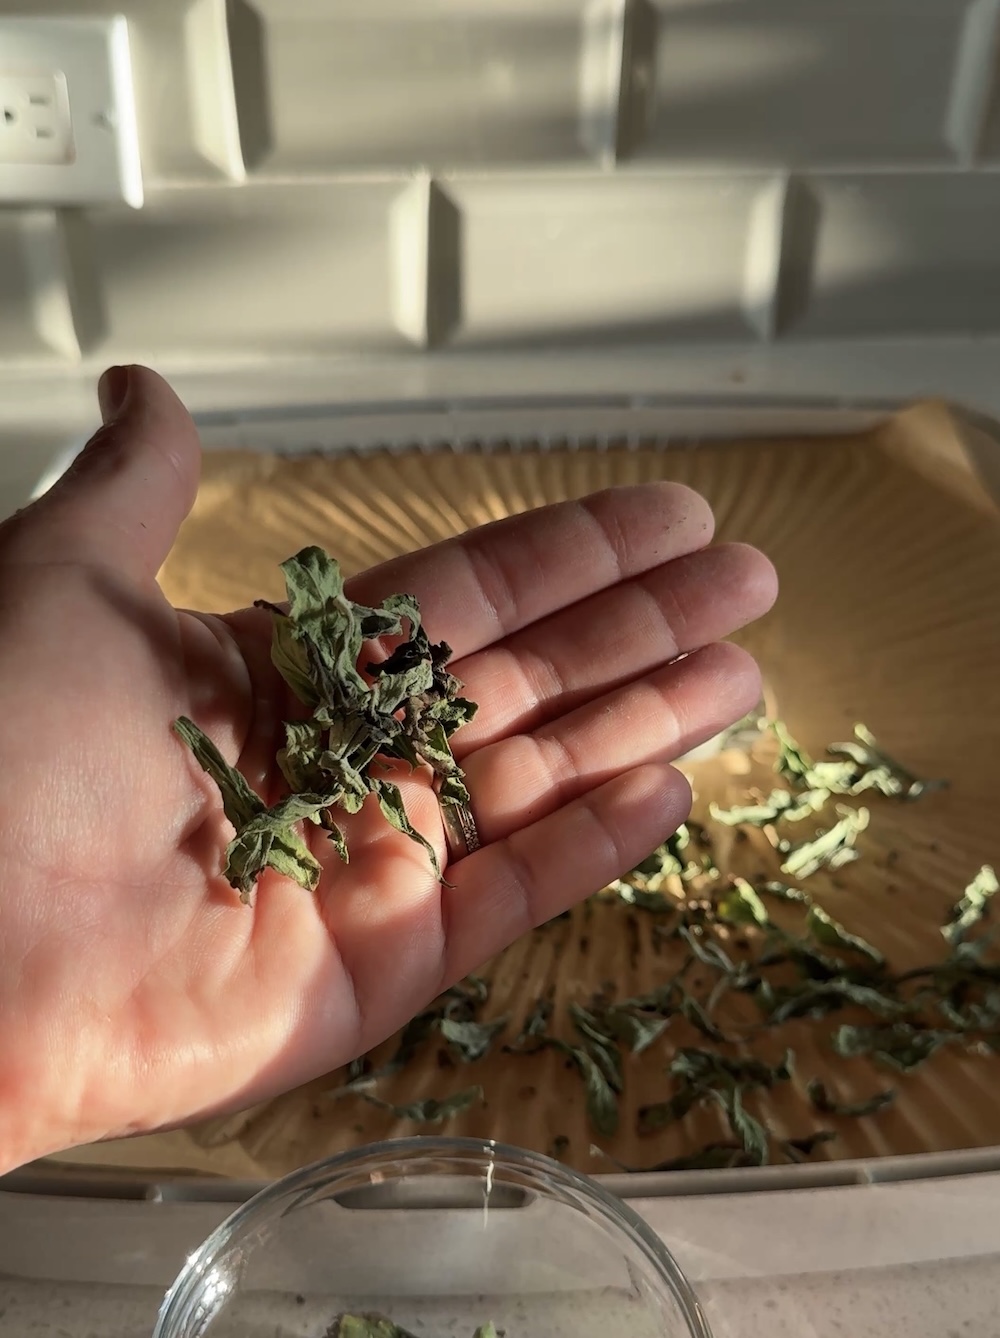
What I did
Cut. I harvested stems in the morning, which is when the leaves are at their best. If you can, get to your plant before it flowers — once stevia blooms, the leaves turn slightly bitter, so flower buds appearing is your signal to harvest now.
Dry. Everything went into the dehydrator on the lowest setting (135) until the leaves were crisp enough to crumble between my fingers. Low and slow is the whole trick — you want them dried, not cooked. No dehydrator? Hang the stems upside down somewhere warm and dry like our great grandmothers dried every herb they ever owned, and you’ll get there in a few days instead of a few hours. You can also use the oven, like this.
Chop. Strip the crispy leaves off the stems and grind. I chopped mine fine; a spice grinder or molcajete takes it all the way to powder if that’s what you want. That’s it. That’s the recipe.
What you end up with is a jar of green powder that is emphatically not the white stuff in packets — this is the whole leaf, the way stevia was used in South America for centuries before a lab ever touched it. The Guaraní people of Paraguay were sweetening their yerba mate with these leaves long before anyone called it a sugar substitute.
NESCO 8-Tray Stainless Steel Food Dehydrator
How to use it
Green stevia is potent — start with about half a teaspoon where you’d use a few teaspoons of sugar, taste, and adjust. It’s happiest in things that welcome an herbal note: tea and tecitos, agua frescas, smoothies, oatmeal. I’d skip it in delicate baking where precision matters; the leaf has a flavor of its own, and it doesn’t caramelize or bulk up batter the way sugar does. For a morning cafecito or a pitcher of hibiscus, it’s perfect.
Stored in an airtight jar away from light, it keeps for a year or more — though mine won’t survive that long.
Why bother
Because a stevia plant costs a few dollars, produces for the whole season, and replaces a product that comes in a box, wrapped in packets, marked up outrageously for something that is, at the end of the day, a dried leaf. This is the whole señora thesis in one jar: the “wellness product” was growing in the yard the entire time.
NESCO 5-Tray Rectangular Food Dehydrator
FAQ
When should I harvest stevia leaves? Just before the plant flowers, in the morning. Leaves are sweetest then; after flowering they turn slightly bitter.
Can I dry stevia without a dehydrator? Yes — bundle the stems and hang them upside down in a warm, dry spot for several days, or use the oven on its lowest setting with the door cracked, checking often.
Is homemade stevia the same as store-bought? No — store packets are a refined extract of one compound. Homemade green stevia is the whole dried leaf: greener in color, more herbal in flavor, and far less processed.
How much homemade stevia equals sugar? Start with roughly half a teaspoon of green powder in place of 2–3 teaspoons of sugar and adjust to taste — potency varies by plant and drying.
Shop This Week’s Bestsellers
Discover the home, beauty, fashion, and wellness finds our readers are loving most.
Shop Bestsellers →-
 SHOP THE ITEM →
Hartwell Indoor/Outdoor Lantern McGee & Co
$358.00 -
 SHOP THE ITEM →
Bistro Tile Stoneware 24k Gold Accent Garden Hook Anthropologie
$20.00 -
 SHOP THE ITEM →
Brown Twisted Taper Candles (Set of 2) McGee & Co
$22.00 -
 SHOP THE ITEM →
Wayland Hand-Knotted Wool Rug McGee & Co
$846.00 -
 SHOP THE ITEM →
Maeve Brynne Cotton Percale Stripe Tie Printed Duvet
$178.00 -
 SHOP THE ITEM →
Coralie Striped Lumbar Pillow Cover
$89.50 -
 SHOP THE ITEM →
Sand Ric Rac Tie Brocks Dress
$228.00 -
 SHOP THE ITEM →
Abstract Alps Como Dress
$298.00 -
 SHOP THE ITEM →
Wine Pleated Sleeveless Midi Dress Moon River
$118.00 -
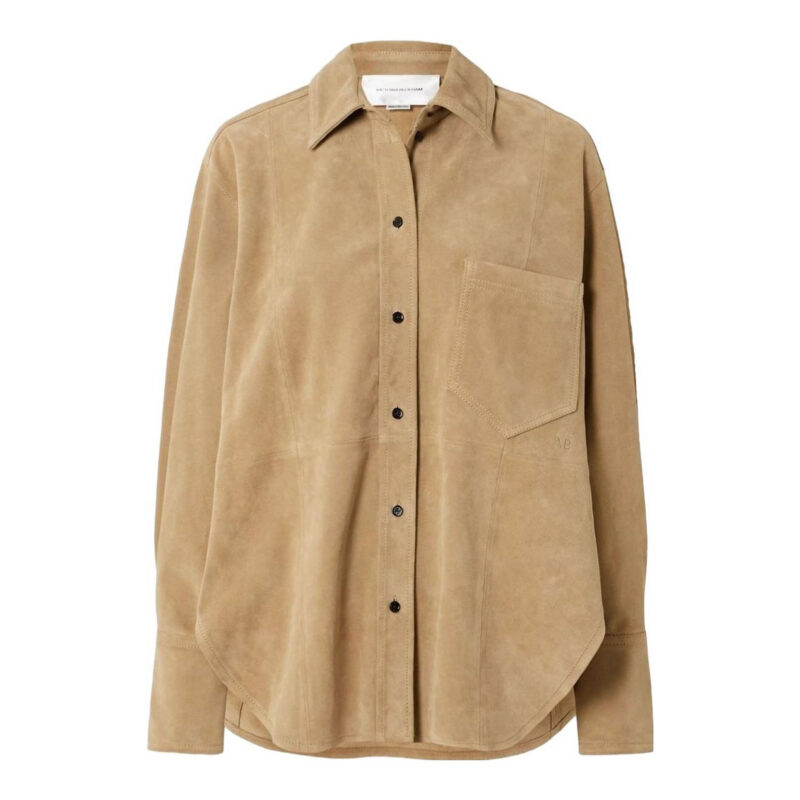 SHOP THE ITEM →
VICTORIA BECKHAM – Suede Shirt
-
 SHOP THE ITEM →
Paloma Wrap Skirt in Lost At Sea Hunter bell
$445.00 -
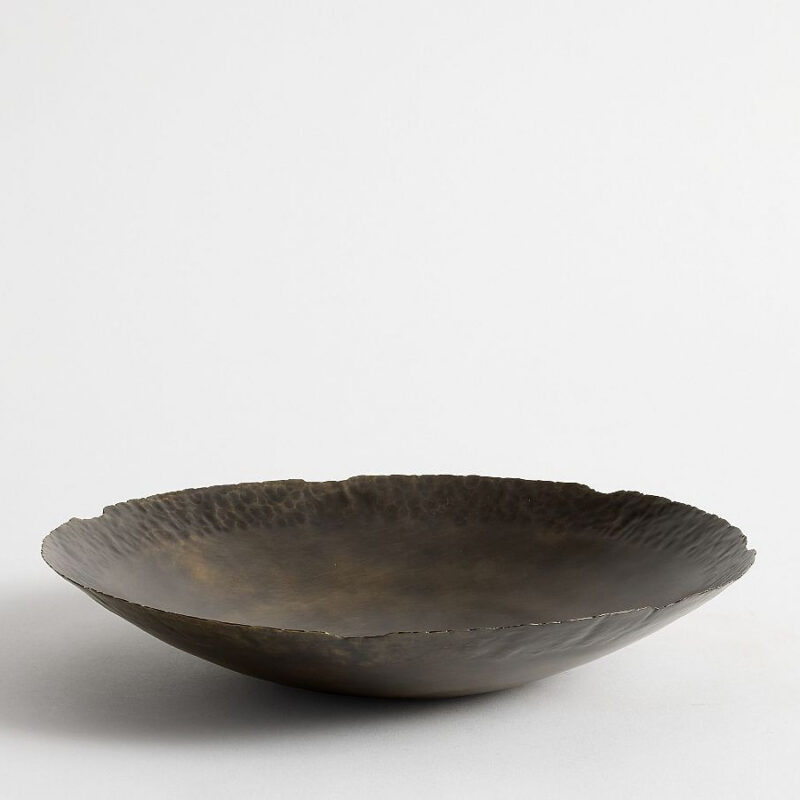 SHOP THE ITEM →
Antique Black Iron Decorative Bowl
$29.50 -
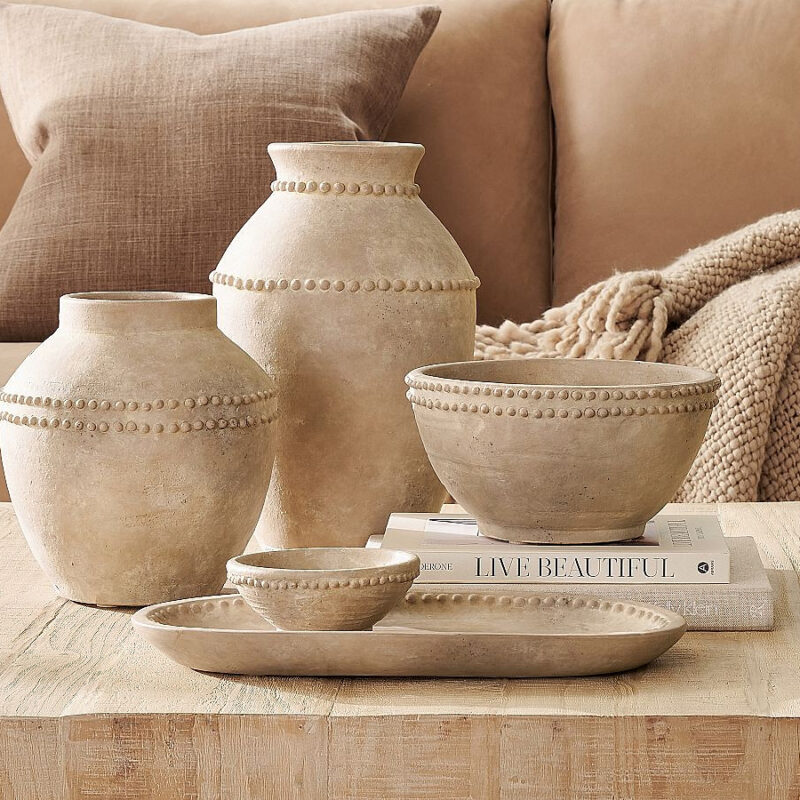 SHOP THE ITEM →
Emilia Ceramic Collection
$79.50 -
 SHOP THE ITEM →
Le Bouquet Maxi Dress in Pink Waimari
$595.00 -
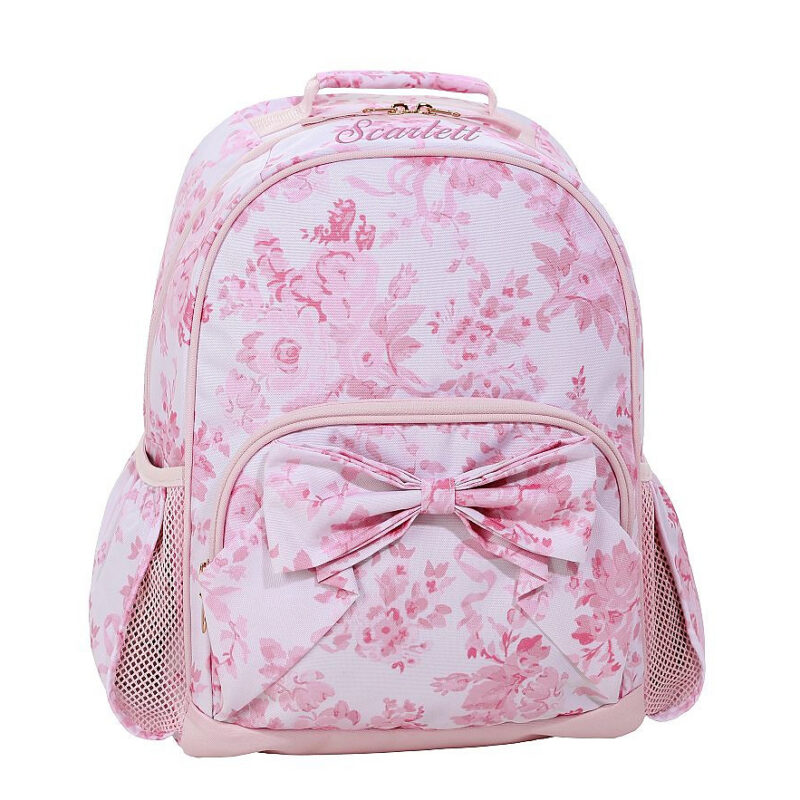 SHOP THE ITEM →
LoveShackFancy Pink Damask Floral Mackenzie Backpack
$69.50 -
 SHOP THE ITEM →
Cordelia Toile Reversible Quilt
$349.00 -
 SHOP THE ITEM →
Lydia Palampore Embroidered Quilt
$349.00 -
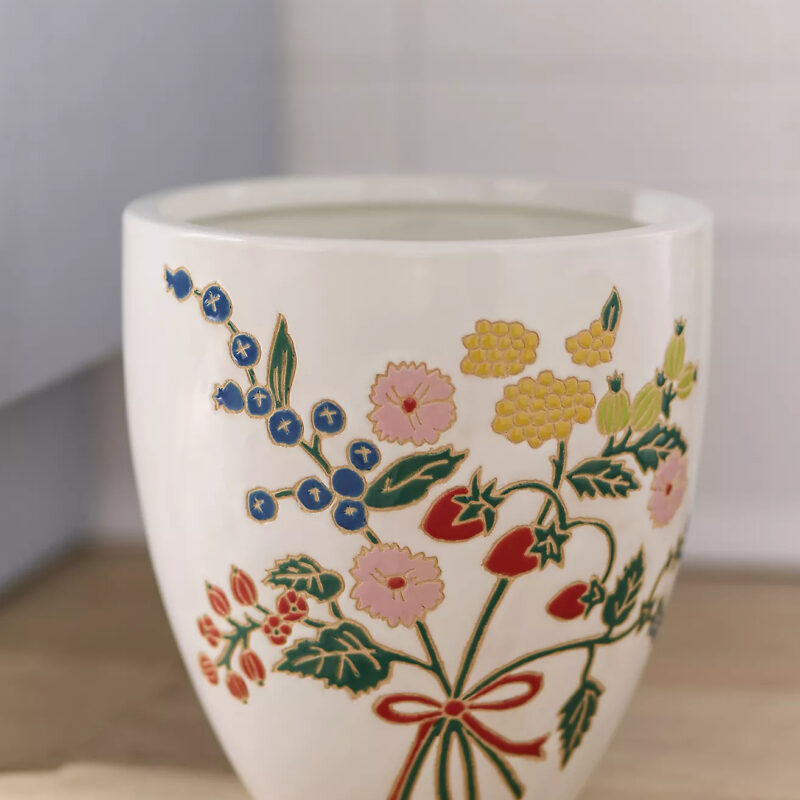 SHOP THE ITEM →
Hand-Painted Ceramic Waste Bin
$68.00 -
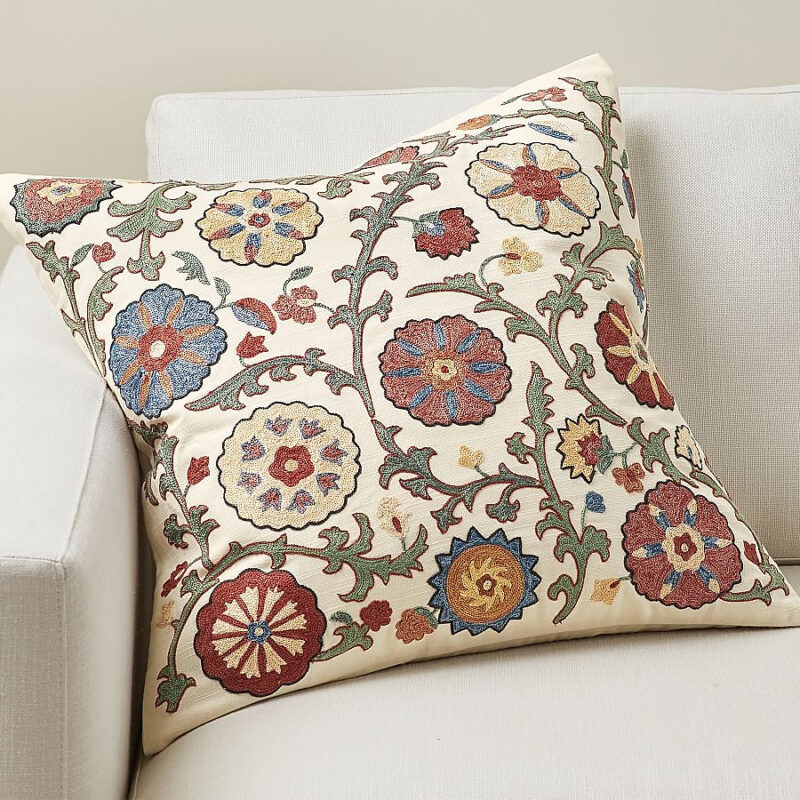 SHOP THE ITEM →
Penelope Embroidered Pillow Cover
$79.50 -
 SHOP THE ITEM →
The Annie Cowgirl Boot – Ombre suede | Tecovas
-
 SHOP THE ITEM →
Blue Flower Cereal Bowl Carolina Irving & Daughters
$40.00 -
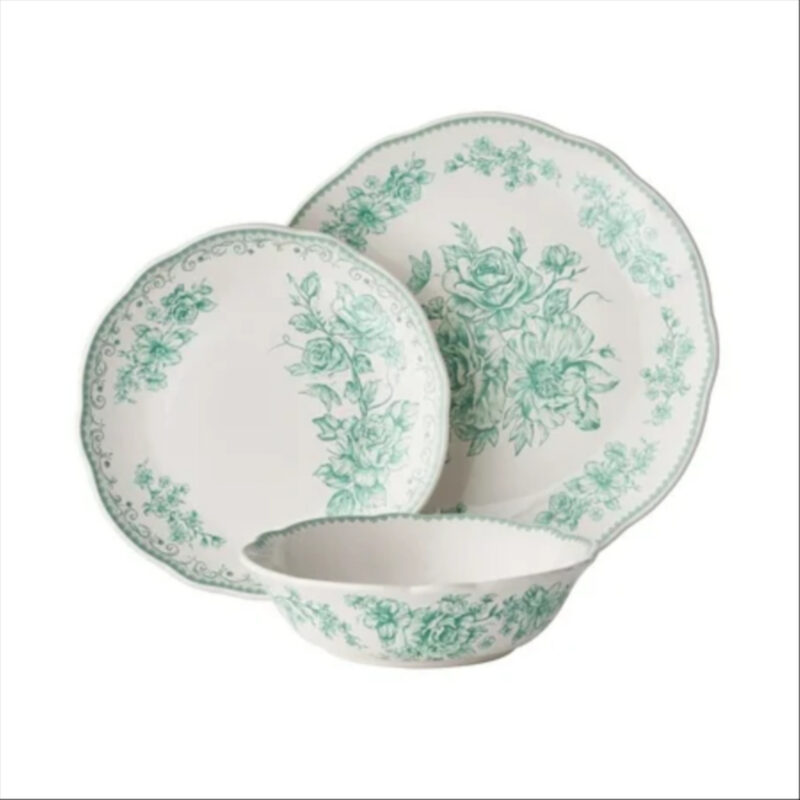 SHOP THE ITEM →
The Pioneer Woman Agatha 12-Piece Stoneware Dinnerware Set, Green
-
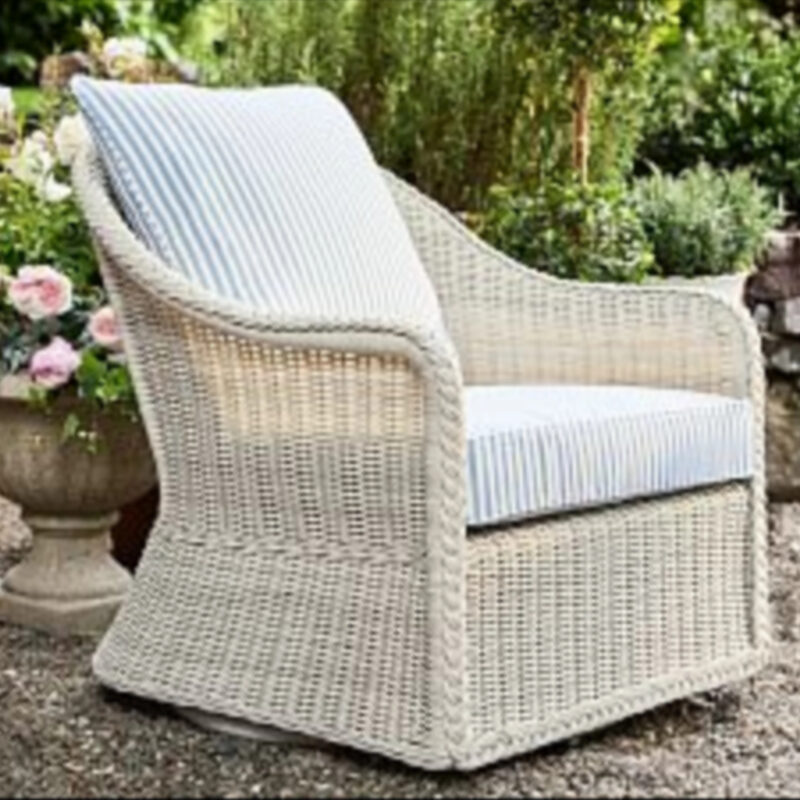 SHOP THE ITEM →
LoveShackFancy Wicker Swivel Outdoor Lounge Chair
-
 SHOP THE ITEM →
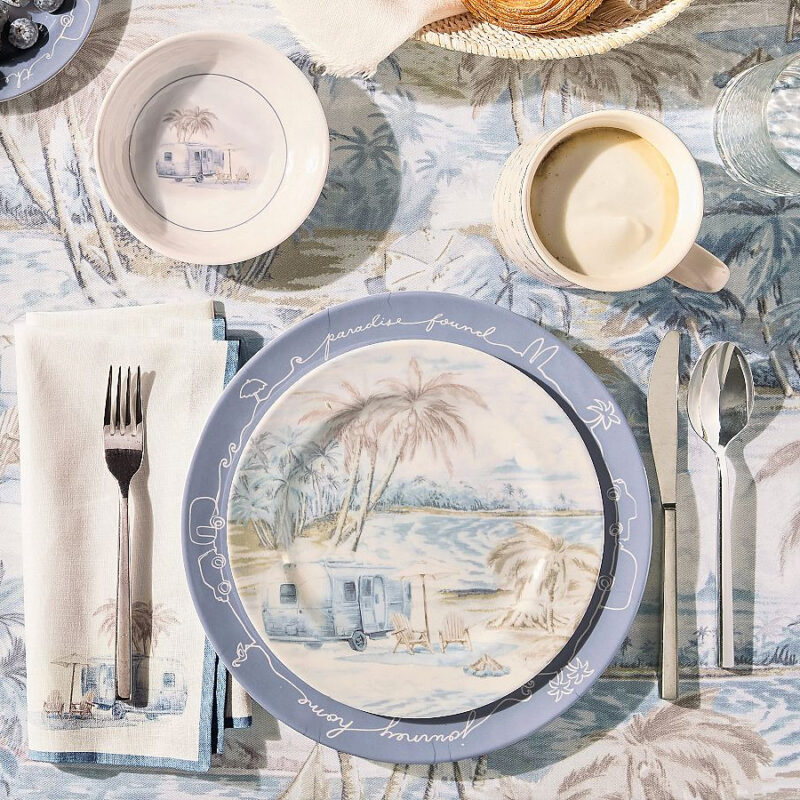
Airstream Outdoor Melamine Dinnerware Collection
-
 SHOP THE ITEM →
Reversible Linen Bamboo Pillow Cover Quince
-
 SHOP THE ITEM →
Staub Enameled Cast Iron Oval Gratin with Lid, 2.25 Qt. Staub Basil with Brass
-
 SHOP THE ITEM →
Farm Rio x Anthropologie Juice Glass
-
 SHOP THE ITEM →
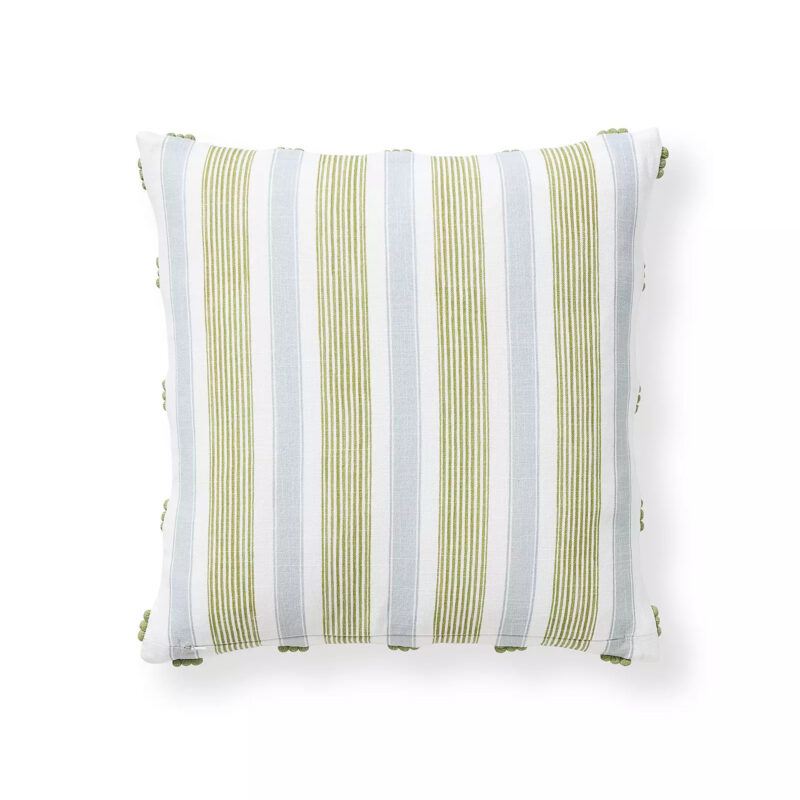
Sapri Pillow Cover
-
 SHOP THE ITEM →
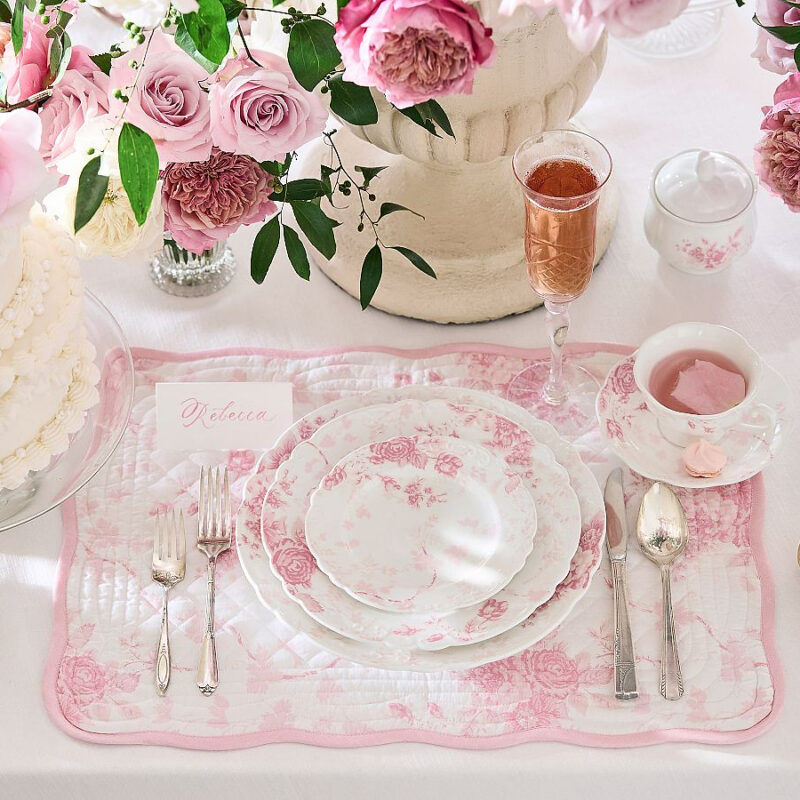
Love Shack Fancy Rose 12-Piece Dinnerware Set
-
 SHOP THE ITEM →
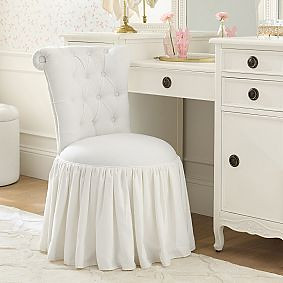
LoveShackFancyTufted Swivel Vanity Chair
You Might Also Enjoy
- You Don’t Need a Big Garden to Grow Your Own Food — We found the perfect seed kit for you!
- How to Make Your Own Nut Butter at Home (All You Need Is an Oven & a Food Processor)
- How to Style a Garden-Inspired Home: Kravet, Serena & Lily & Puebla Collection
- The Coziest Gift You Can Make at Home: Rosemary Body Butter
- The Best Plants for Home Decor That Make Every Room Look More Expensive